 Christmas week is finally here! I spent this past weekend checking a bunch of things off my to-do list, including improving my gluten-free (GF) gnocchi recipe. You know, because that’s what people do 5 days before Christmas. Maybe you’re wondering why I’m making so much GF food lately. It’s not because I’m Paleo, or because I love to challenge myself by cooking the hardest possible things (which is the opposite of what I like to do), or even because I’m trying to get more people to follow me on Pinterest (okay, it’s a little bit because of that). No, it’s because my sister was diagnosed with celiac disease, and I don’t want her to miss out on the foods she loves. Deep down, I really am nice!
The first time I made this recipe, I used the only GF flour that I had: chickpea flour. Chickpea flour tastes just like chickpeas, which is to say that it does not exactly have a mild flavor. The gnocchi then tasted like chickpeas, and didn’t have much chew. I covered it up with a flavorful sauce, though, and it was fine. Fine, but not good enough. This weekend, I went back to the store to find some GF flour that had a milder flavor and would give my gnocchi a little more bite. I somehow decided that tapioca flour was the right choice. In my head, I figured that boba (as in boba tea) is kind of chewy, and that’s tapioca, so…there you go. I combined the two flours together, and I think it worked.
Chickpea flour, like chickpeas, contains a lot of protein and fiber. Rice flour, on the other hand, is basically just carbs. If you don’t have chickpea flour or tapioca flour, you could probably use rice flour, but the gnocchi won’t be quite as good for you. I also can’t guarantee that you’ll get the same texture or taste, but you can experiment and see what works for you.
This gnocchi would probably taste a little weird on its own, so I recommend serving it with sauce. Check back in the next few days (maybe weeks) for my serving suggestions, pictured below. Also, since I’m feeling generous right now, see the bottom of this post for a bonus recipe!


 |
| Pork chop with gnocchi, butternut squash, and kale |

 |
| Gnocchi with cod and scallops |
Gluten-Free Gnocchi
Serves 2 (main dish, no additional protein) or 4 (side dish, as in the pictures above)
Prep time: 20 minutes (if you already have the baked and cooled potatoes)
Cook time: 2 minutes
Ingredients:
2 medium-large baked potatoes, cooled
2 egg yolks
4 tablespoons chickpea flour
4 tablespoons tapioca starch/flour, plus extra for dusting
2-3 cloves roasted garlic (optional)
1/4 teaspoon salt
Scoop out the potato flesh into a bowl and discard skins. Mash the potatoes with a fork until there are no lumps. Add the egg yolks, and combine. Add the flours, salt, and garlic, and combine with a fork (or your hands). The consistency should be a sticky dough that could easily be rolled out, but that will still stick somewhat to the bowl. If it’s too sticky, add more chickpea or tapioca flour, 1 tablespoon at a time.
Dust the counter with some flour (either one). Divide the dough in quarters. Take the first quarter and roll it out into a log about 1/2 inch in diameter. Cut 1/2 inch pieces until there is none left. Then roll each piece over the tines of a fork to make grooves. Place the pieces on a parchment or paper towel-lined baking sheet. Repeat the process with the remaining dough.
Bring a pot of water to a boil, and then salt it heavily (it should taste like seawater). Drop 1/4-1/3 of the gnocchi into the pot. When the pieces float to the top (about 1 minute), allow them to cook for 1 minute more, and then remove with a slotted spoon or strainer. Repeat with the remaining gnocchi. Add additional salt to taste. They are ready to serve.
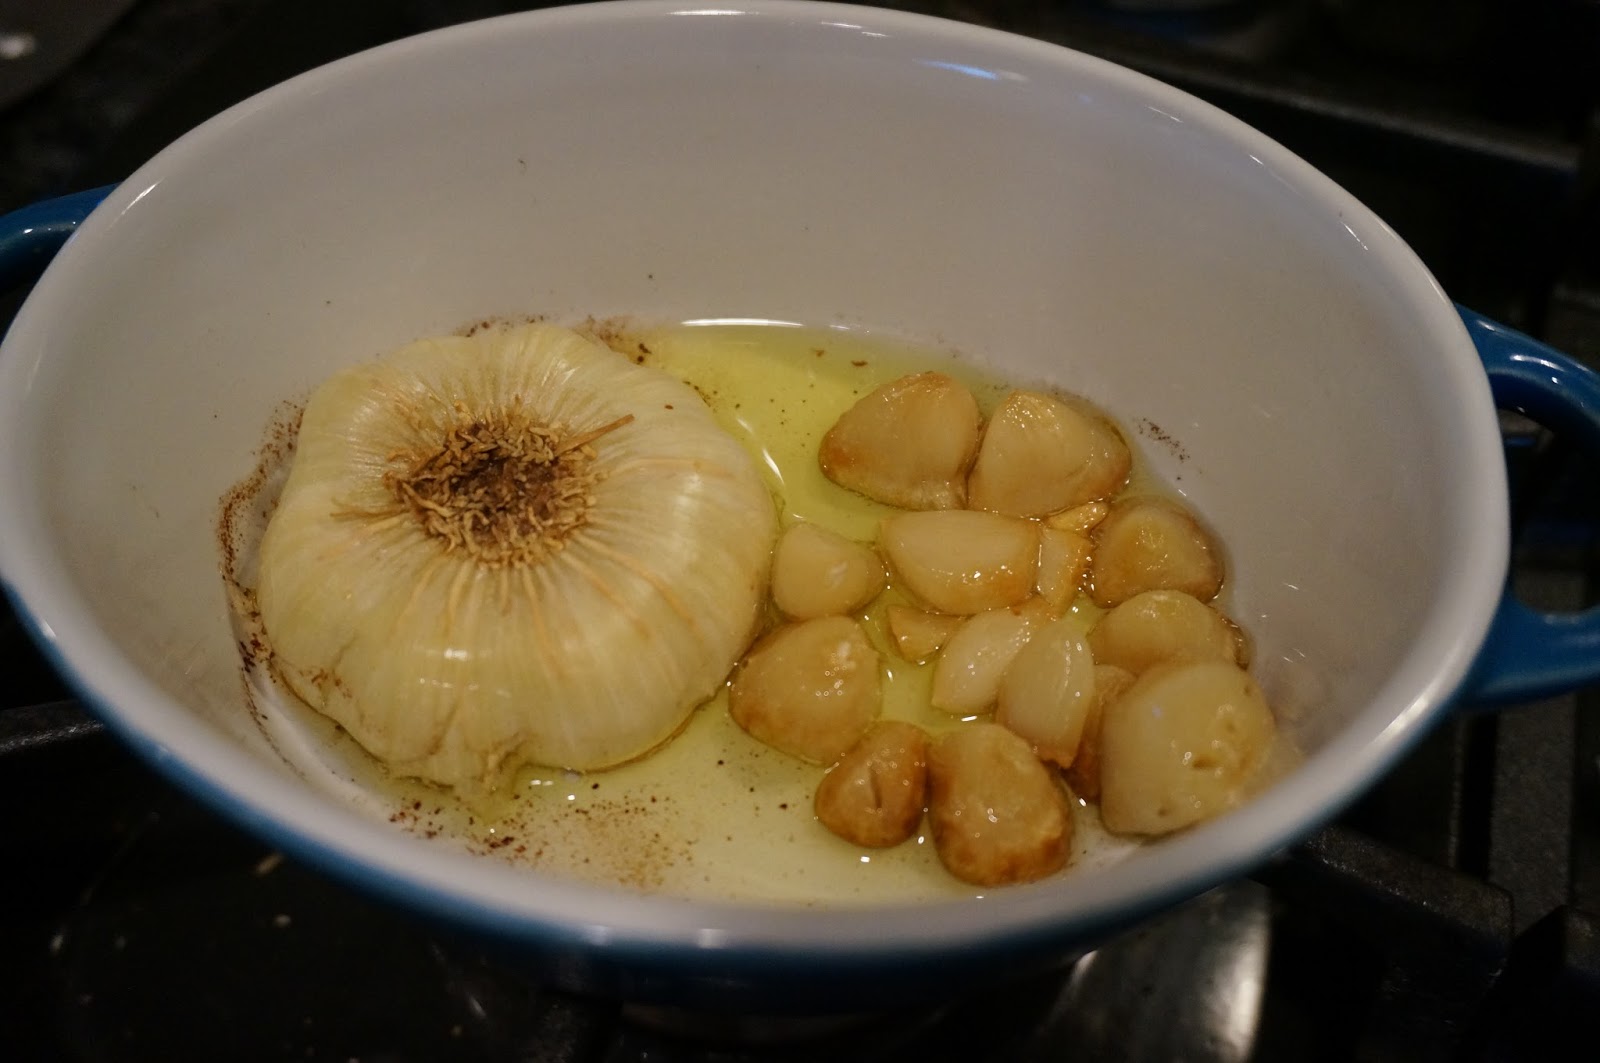
Bonus Recipe: Roasted Garlic
Prep time: 2 minutes
Cook time: 30 minutes
Ingredients:
1 head of garlic, cut in half (through the middle of the cloves)
about 1/4 cup olive oil
Preheat the oven to 400 degrees. Place the two halves of the head of garlic in a small ceramic baking dish (cut side up or down, doesn’t matter). Pour the olive oil over it. Cover the dish and bake for 30 minutes, or until the cloves are tender but not burned. Remove the cloves from the papery skin, and store in an airtight container in the fridge, covered in the olive oil that they baked in.
Mash up the cloves and add it to anything: sauces, dressings, etc.



Leave a Reply